-
 creative meadowlark botanical gardens photography05.17.21
 -
 Favorite Photos I made in 202001.02.21
 -
 Rebekah + Seth Brooklyn, NYC05.08.21
 -
 Neha + Jonathan popular springs Manor Wedding01.14.21
 -
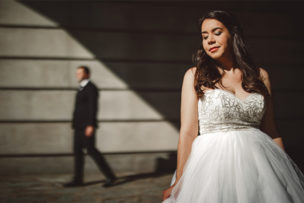
 Clare + Mattia // DC District winery wedding02.14.21
 -
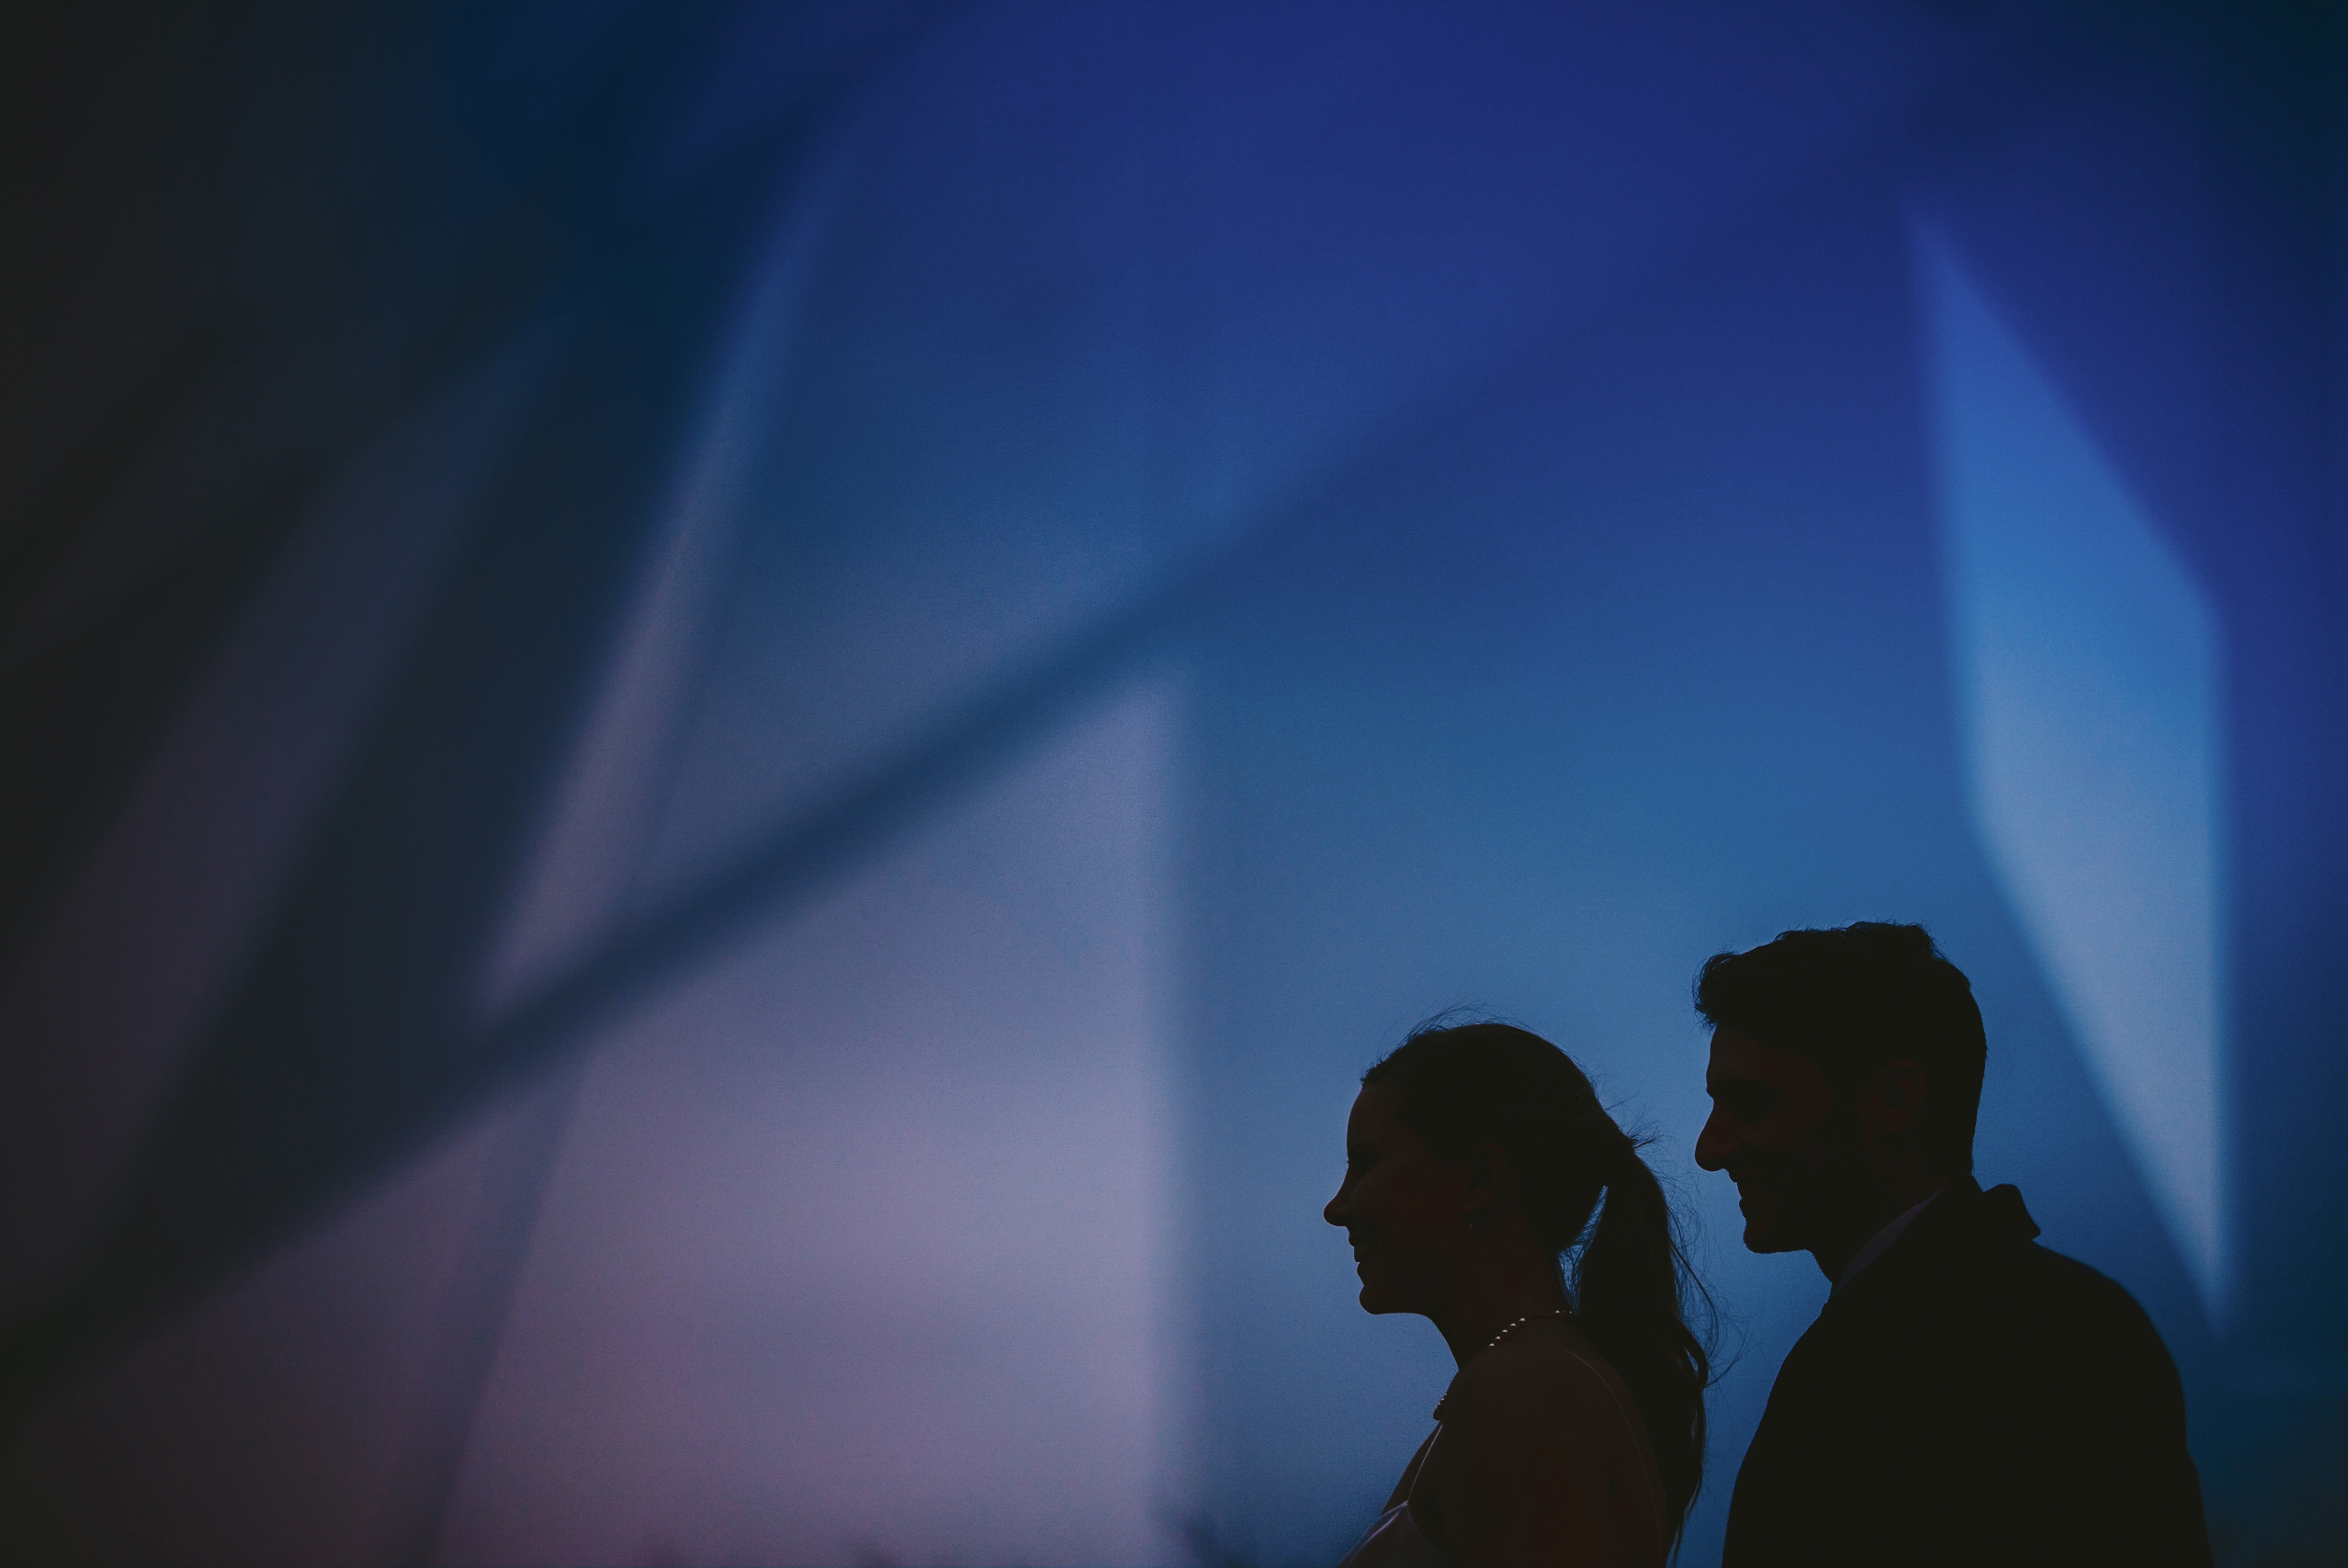
 Charlie + Candice Georgetown Couples Session04.12.21
 -
 The Epic Workshop // Online12.15.20
 -
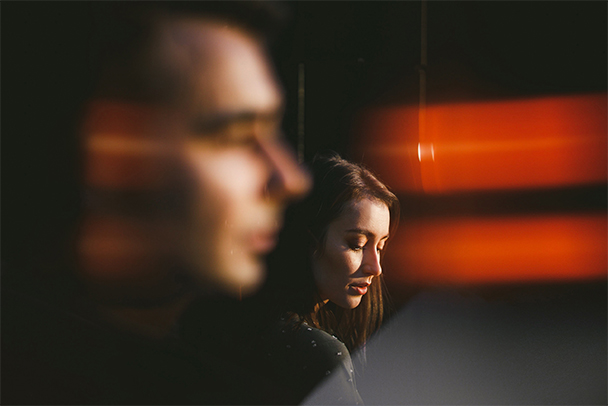
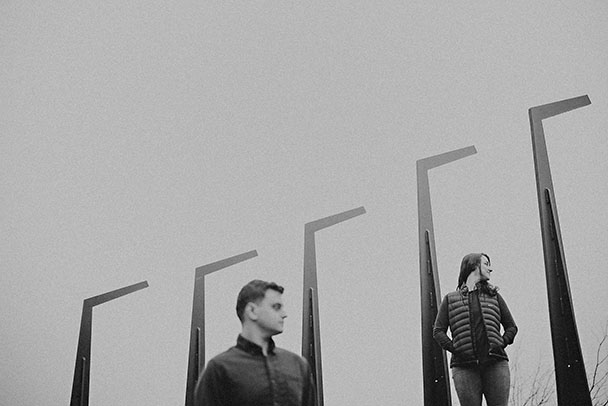 Alex + Rachel Engagement Session01.12.21
 -
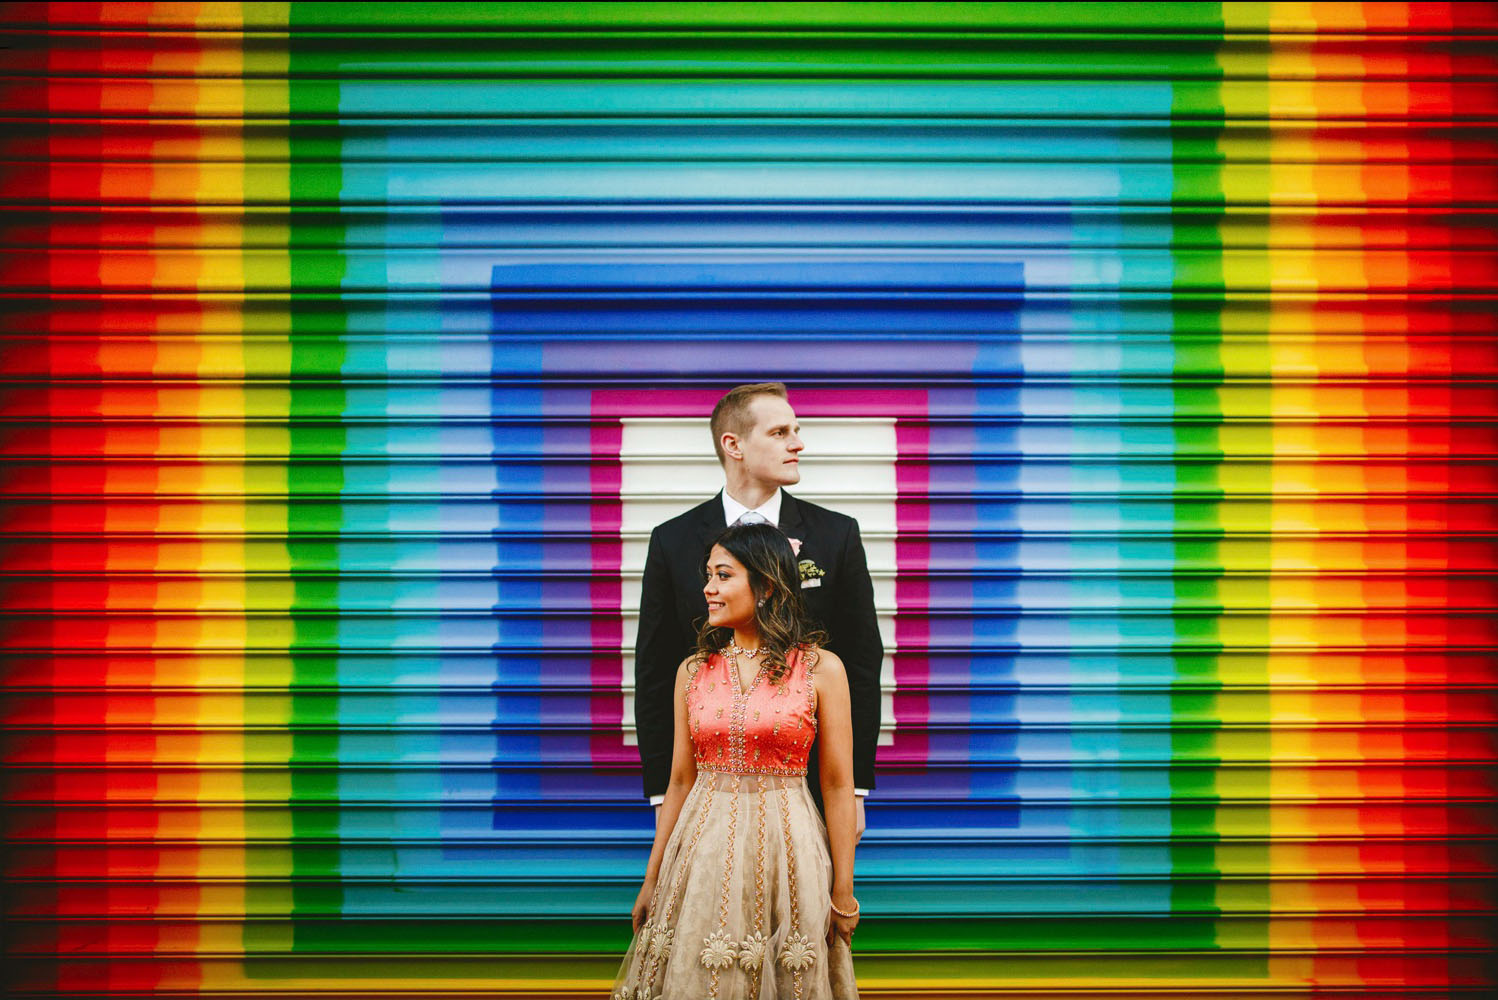
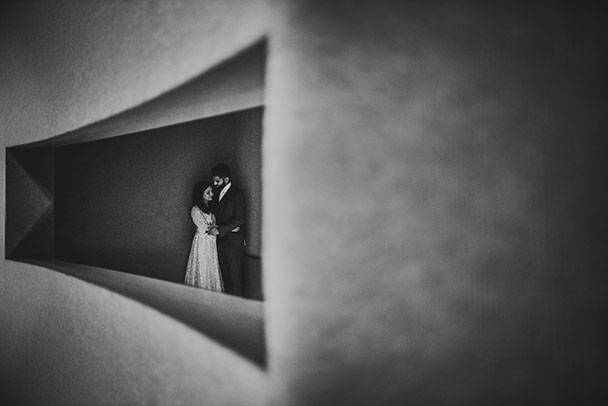 Isha + Janak Westfields Marriott VA12.27.20
 -
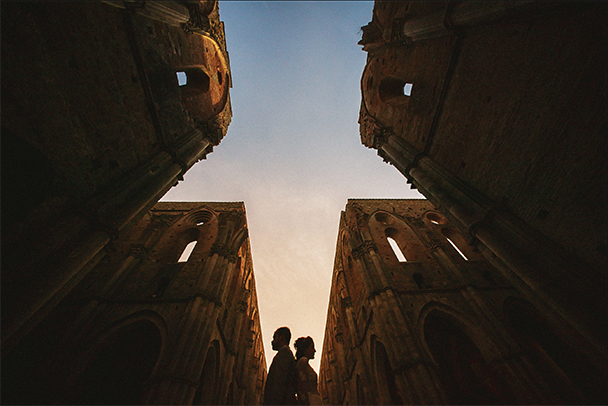 Ed + Val Sienna Italy Vow Renewal12.15.20
 -
 creative couple session madrid spain12.12.20
 -
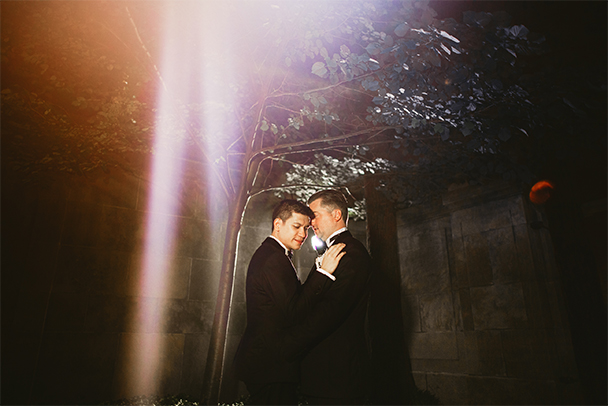 Meridian House Wedding12.11.20