It’s usually rare for photographers to share techniques that they use in a very public way. Many offer workshops (I do) and many just try to maintain a competitive edge by keeping their secrets and tips closely guarded. I think that’s silly. I enjoy sharing techniques I’ve used in real world situations and taken time to develop. Techniques that have proven very useful to me in difficult situations where thinking quickly has turned a tough situation into a beautiful moment. Sharing this information makes us all better photographers and really helps to raise the bar higher every wedding season.
Freelensing. It’s been around for a while. It’s essentially the “poor man’s tilt shift.” All the technique requires is disconnecting a lens from the camera body and floating it around in front of your sensor to shift the focal plane in weird directions. It takes practice to get accurate with it, but overall the technique is pretty straight forward.
I wanted to take it a bit further.
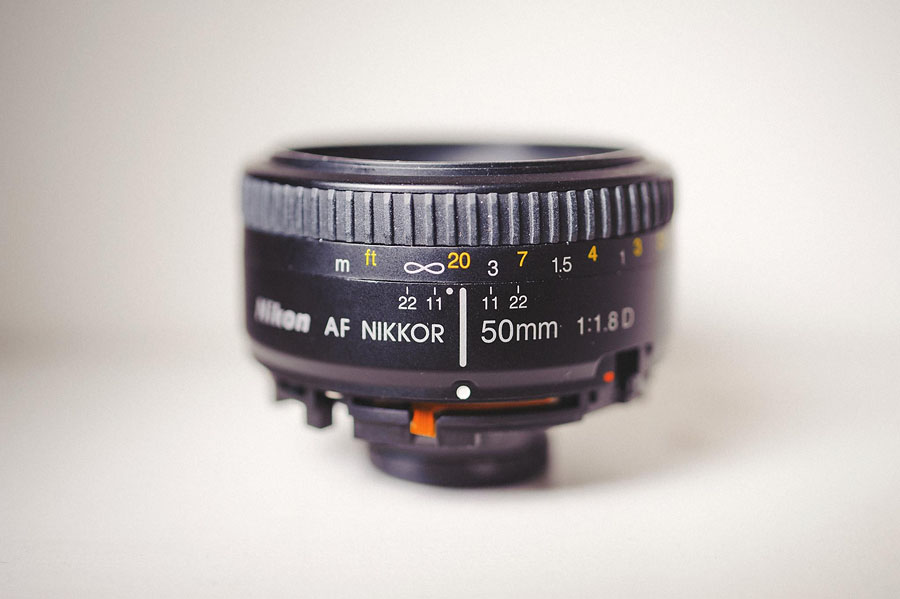
I decided that when floating my lenses in front of my camera there just wasn’t enough room to move around with. I wanted extreme focus angles and crazy vignetting. I wanted images to look completely organic and one of a kind. So, I broke a lens. Yup. I ripped the lens mount right off my nikon 50mm 1.8. Why 50mm? Why 1.8? Well, over time I found that the 50mm focal length is perfect for my way of seeing the world and great for getting the focus where I wanted it while freelensing. The 1.8 rear element is much smaller than a 1.4 or 1.2 so it really allows for a lot more movement.
To focus while freelensing you set your lens focus to infinity (or in my case the broken 50 1.8 was stuck on infinity) and move the lens forward and back from the sensor. You’ll see in live view of in your view finder how the focus plane shifts. Pretty straight forward, but takes a lot of practice to master!
I bought my 50 1.8 lens here. This exact lens will also work with canon cameras and virtually any other type of camera that you can hold a lens up to.
SO, here’s what I ended up with:
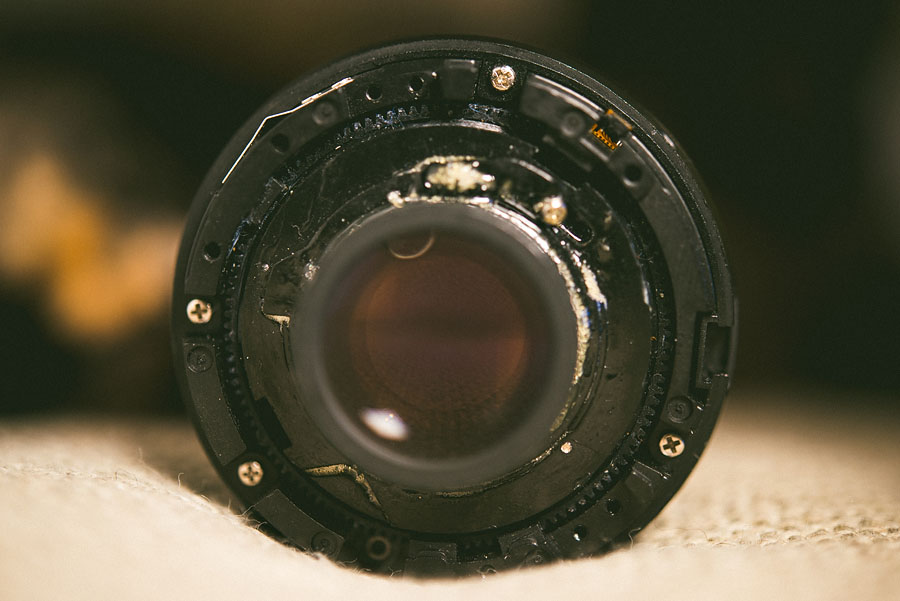
Mine looks kind of dirty as I’ve been using it for a while. That glue looking area is just super glue that I used to keep the aperture ring open since I ripped off the stock aperture ring. Nikon lenses default with the aperture closed, but with canon lenses you would not need to do this. Here is a video showing the lens:
and here is a video demoing how the lens actually floats in front of a camera:
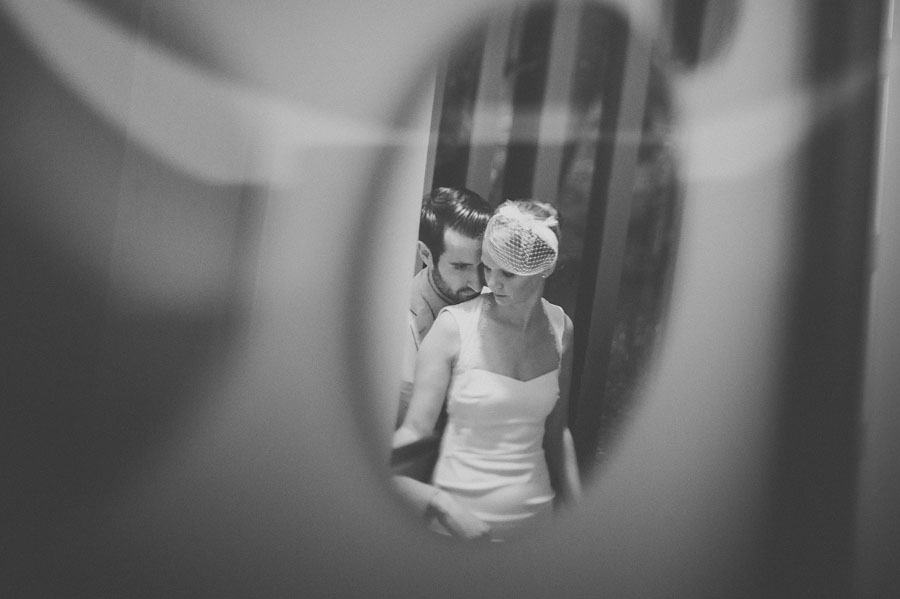
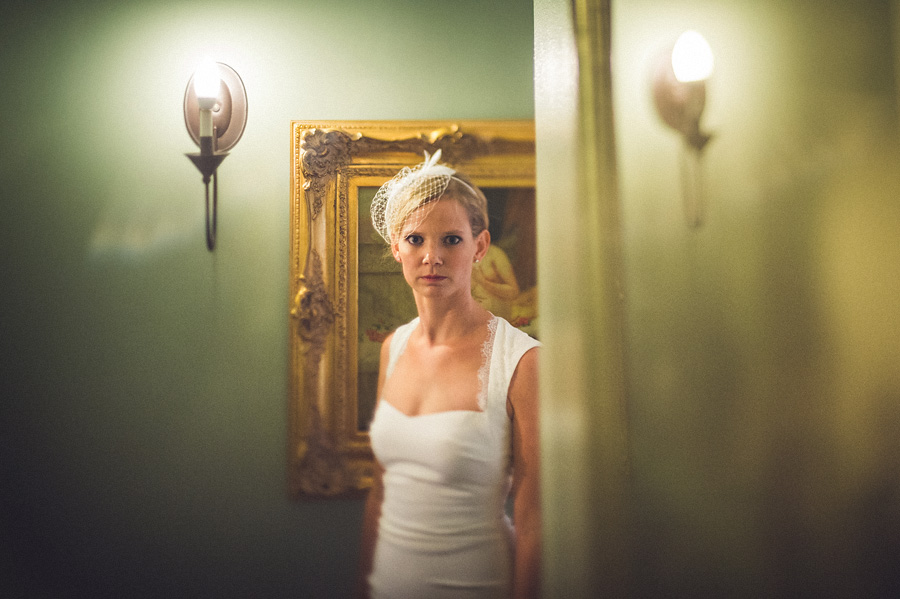
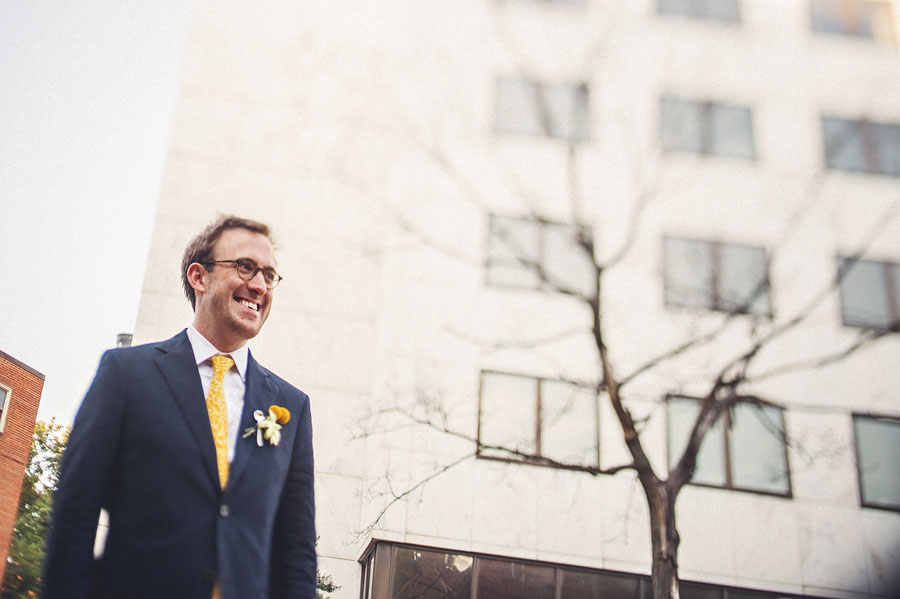
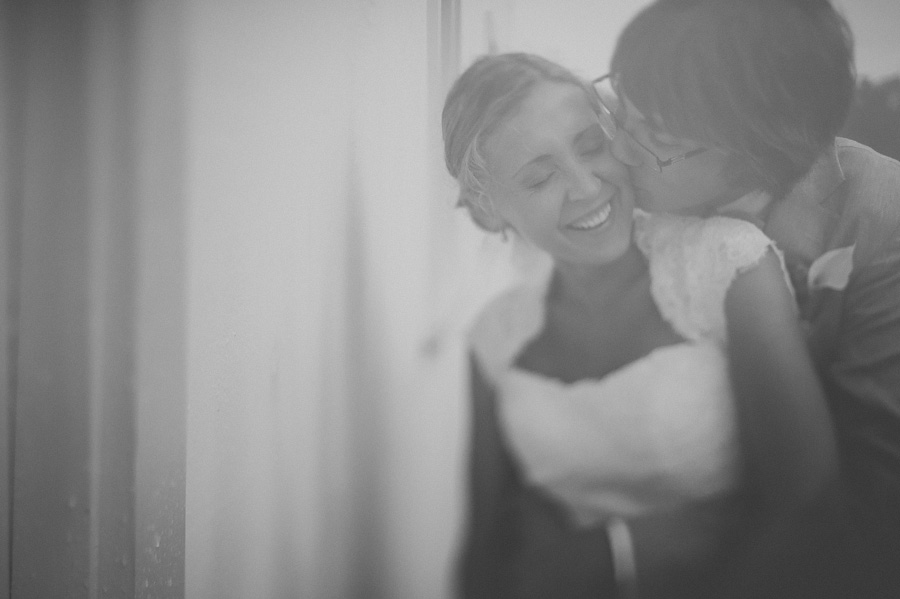
Here are some of my favorite examples of images I’ve made with this modified Nikon 50mm 1.8 lens:


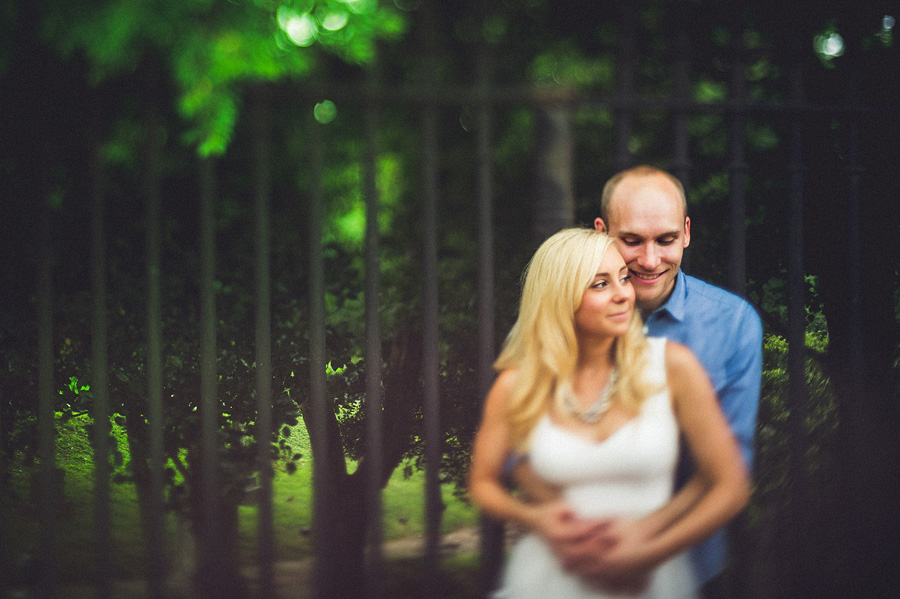
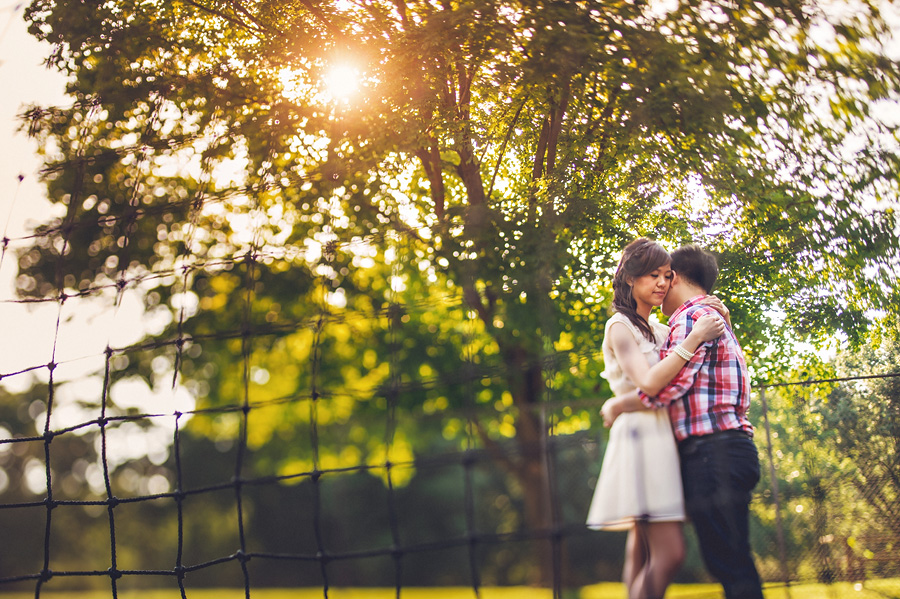

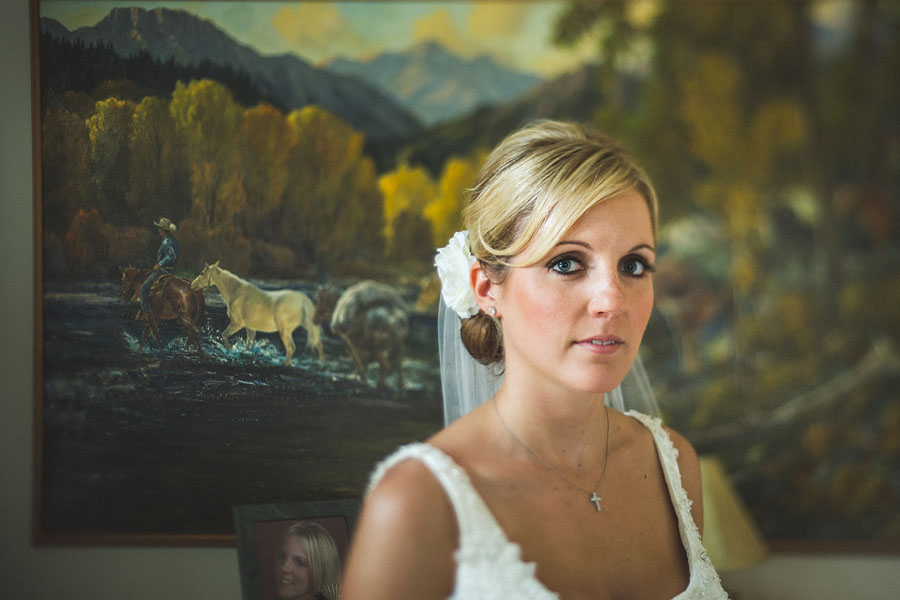
One of the cool benefits of having a lens without the mount on it is the ability to get in camera light leaks. All of the images you see here have organic and natural light leaks
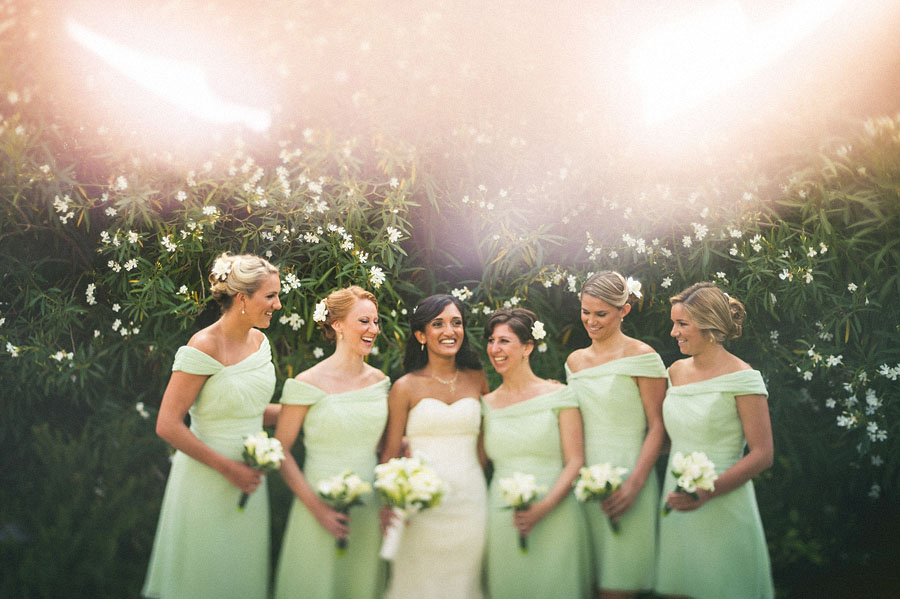
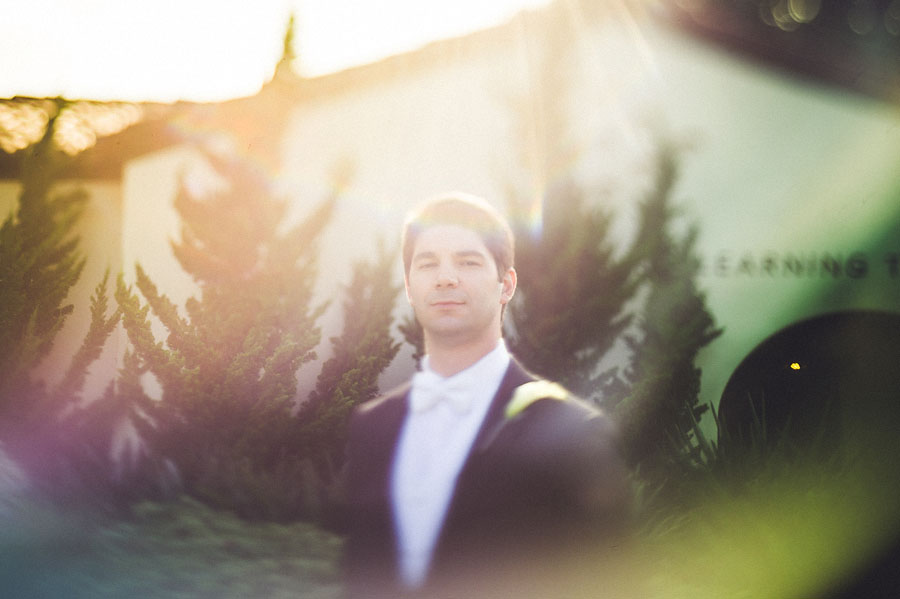

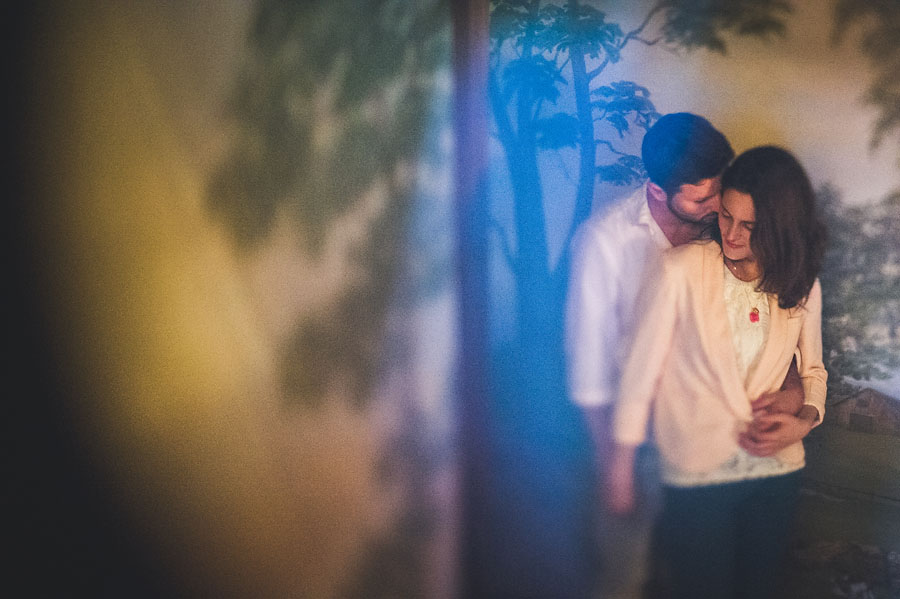

and here is a video demoing lightleaks and other freelensing effects:
So, you’re probably wondering if it’s safe to use your camera with such an exposed lens? Well, I’ve been doing this for nearly two years and not had a single problem. I clean my sensors regularaly using Visible Dust products. You probalby don’t want to do this while laying in mud, but overall just be smart and quick about when you decide to try it out.
Obviously, this technique isn’t going to appeal to everybody. Just like prisming it has a time and place. I just like sharing really cheap and easy ways to get more out of your equipment than perhaps you thought possible. This lens is super small and is worth just zipping into a side pocket for an added tool in your camera bag. There are products that offer a similar look (lensbaby) however you lose the ability to get light leaks and you lose the extreme focus shifts. Plus, my way is much cheaper.


[instagram-feed]