update: getting a lot of people asking me where to order one. see here. also… i give workshops where i cover loads of techniques and go over all of them including this in much more depth.
so, for a while now i’ve shared photography techniques i’d worked on throughout my career. every wedding season i try to share something new with everyone and i love seeing what other photographers have done with prisming, freelensing, and brenizer methods (aka bokeh panoramas).
now it’s time for the my latest technique and i call it lens chimping.
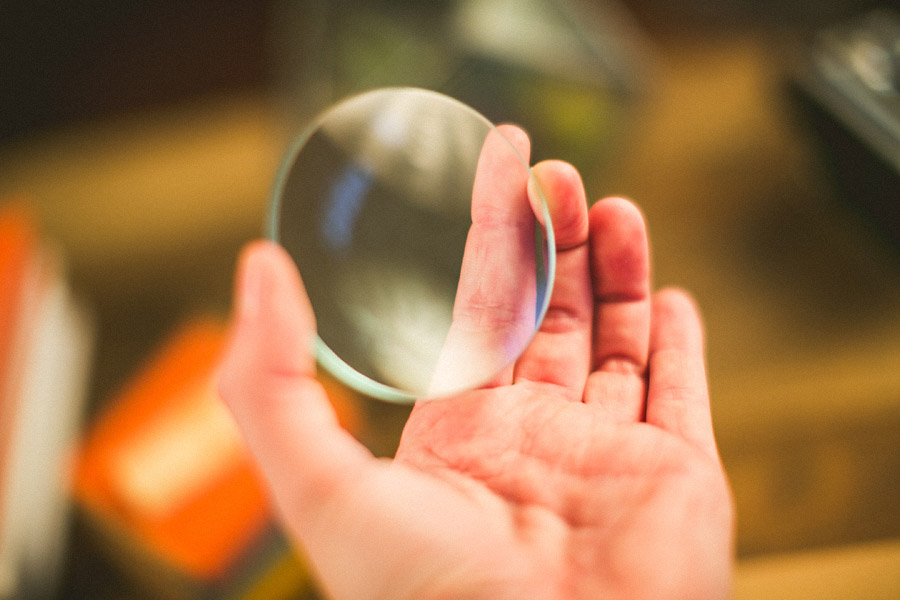
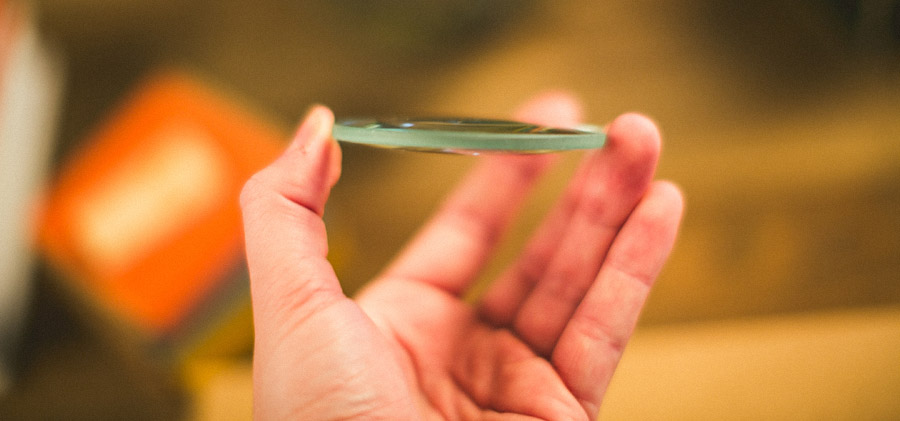
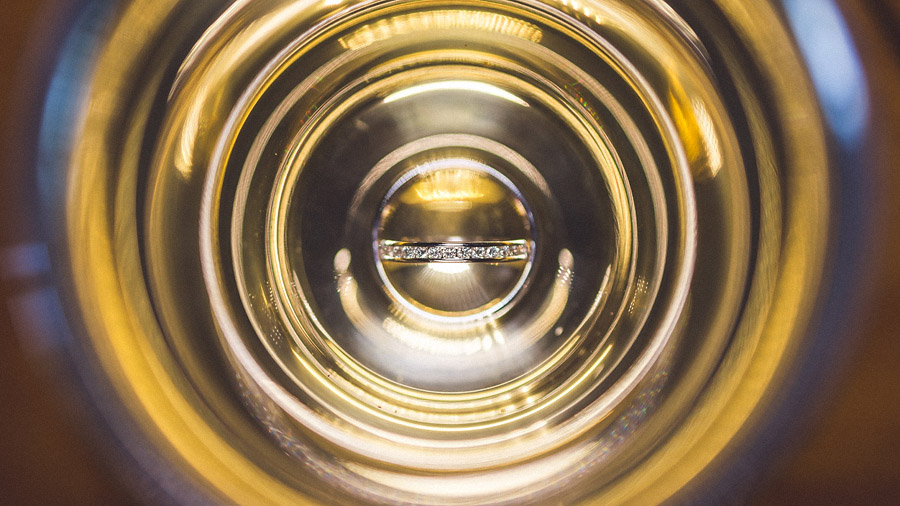
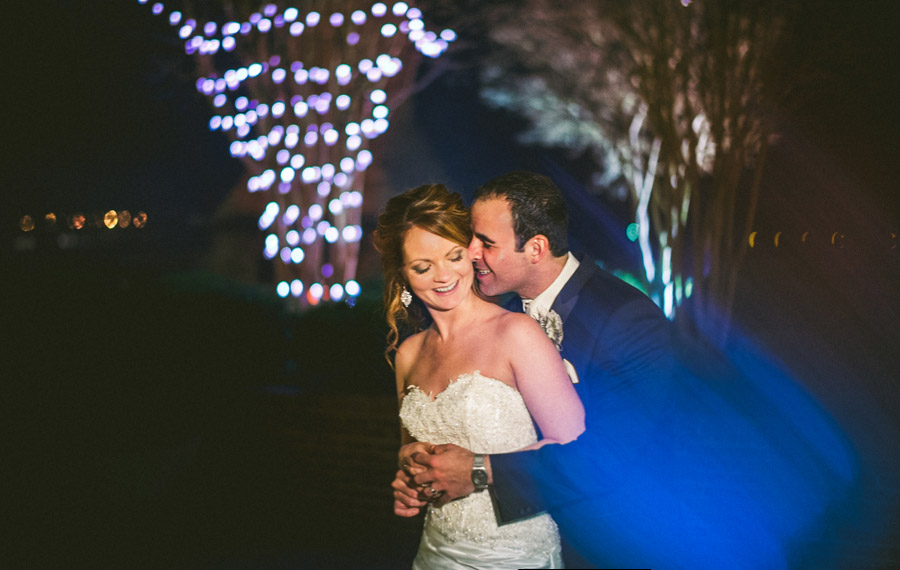
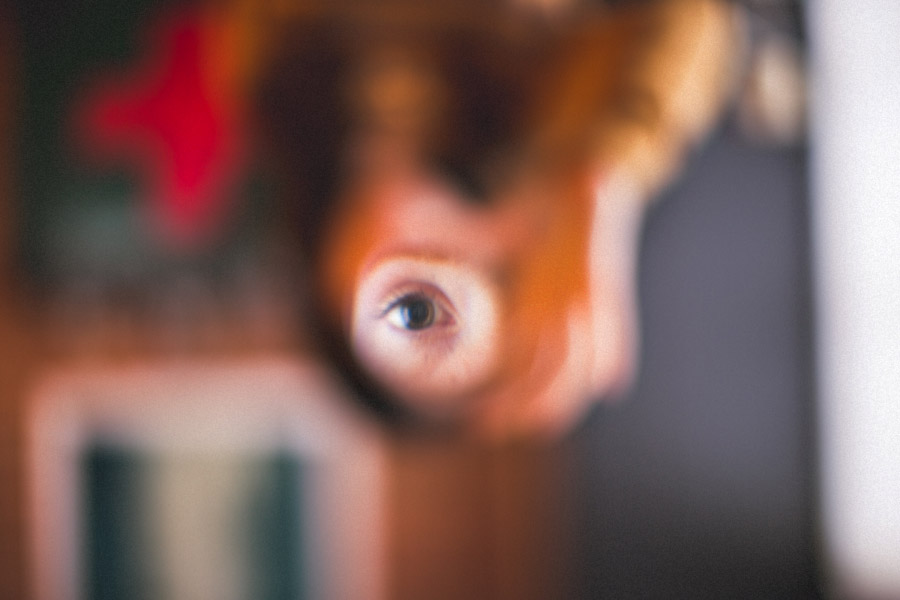
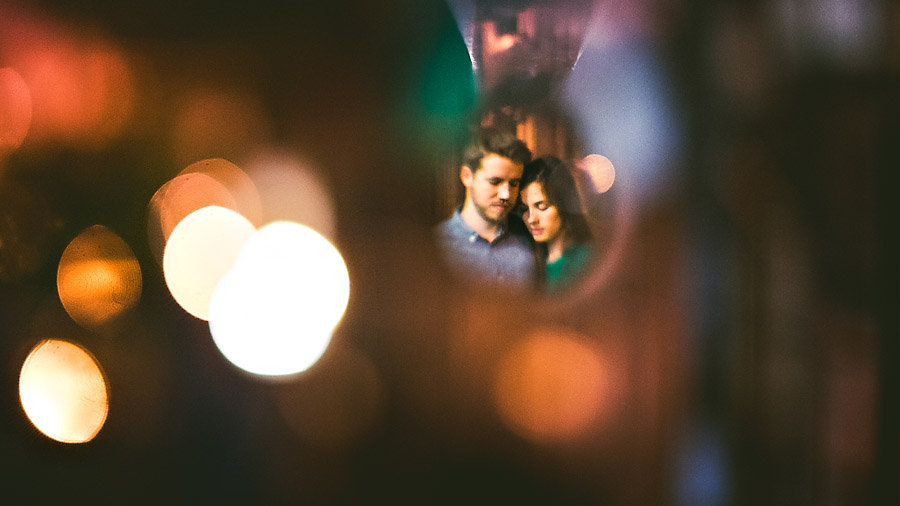
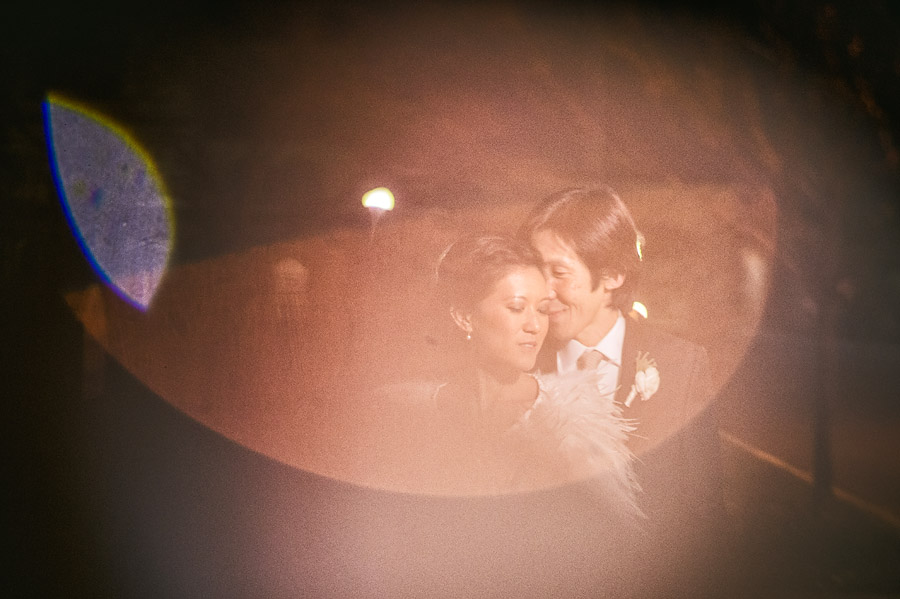
i call it that because it’s accomplished by shooting through a hand held convex lens element in front of the lens on your camera. the resulting effect is a delicious blend of reflections and circularly shaped light orbs with a bit of a freelens/prism blended look. unlike a prism you won’t get any straight forward reflections.

this is kind of a natural continuation from prisming as the techniques are largely the same but give very different looks. i also prefer the simple convex lens because it fits much better in a pocket and doesn’t confuse airport security guards.
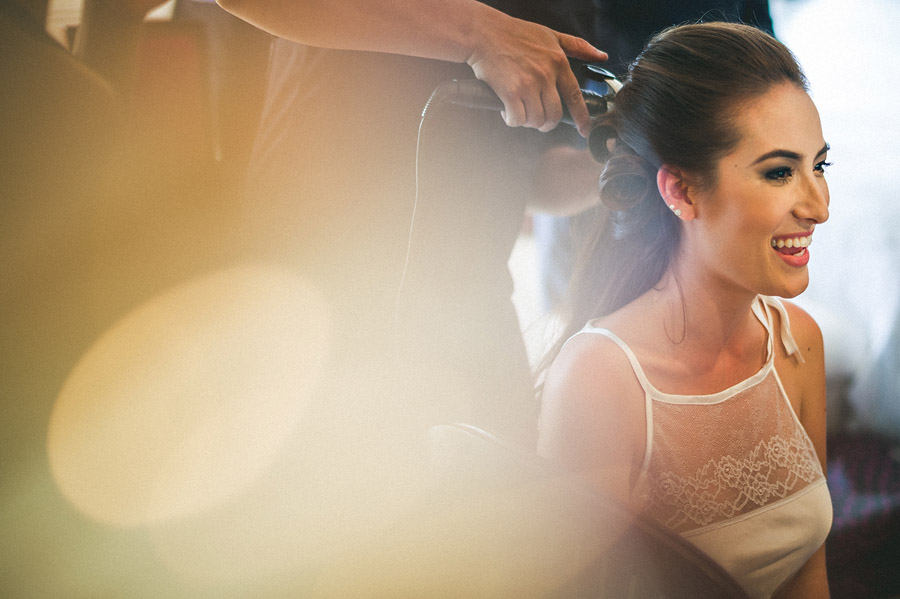
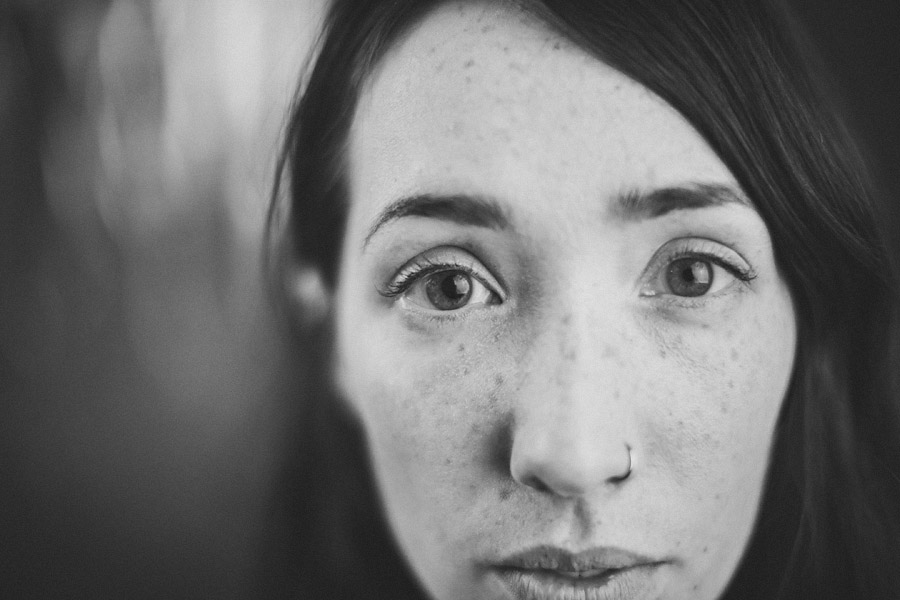
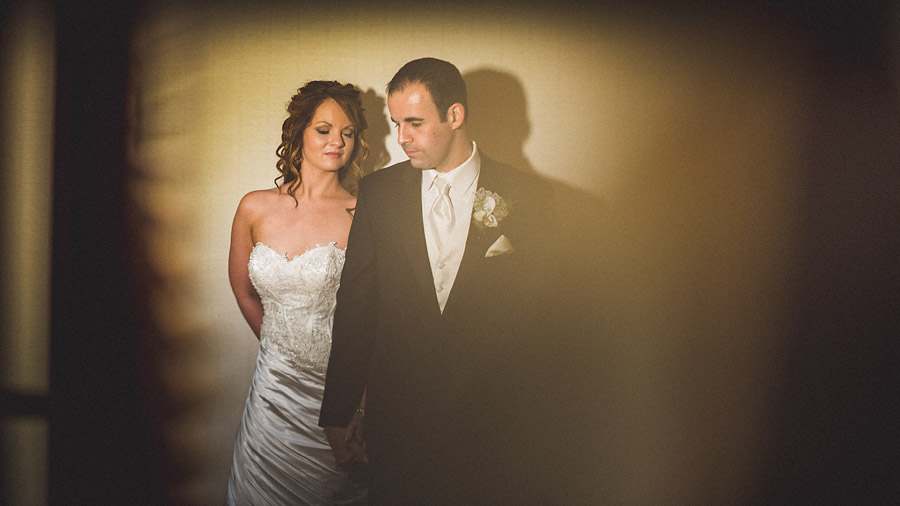
it’s a really easy way to add some interest to those usually static “getting ready” photos of people sitting in chairs. though, it’s probably best to use the technique in a situation where you have a lot of control… like portraits.
there are two other added benefits vs using a prism.
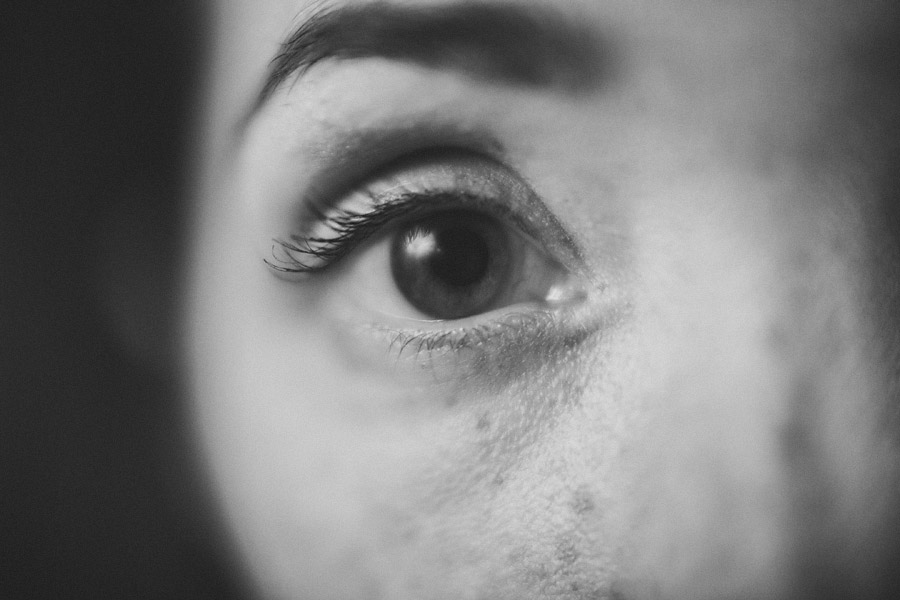
1) if you set the lens flat again your camera lens it turns it into a macro lens. here is an example with the canon 50 1.2 at minimum focus distance without a convex lens.
and here it is shooting through the convex lens
2) it doesn’t get weirdly hard rainbow effects no matter how hard your distort the lens.
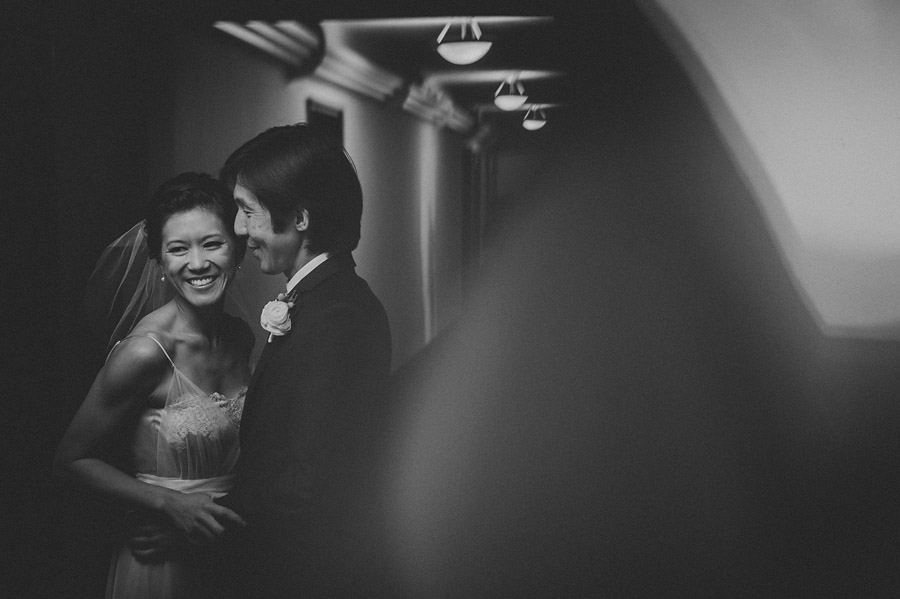
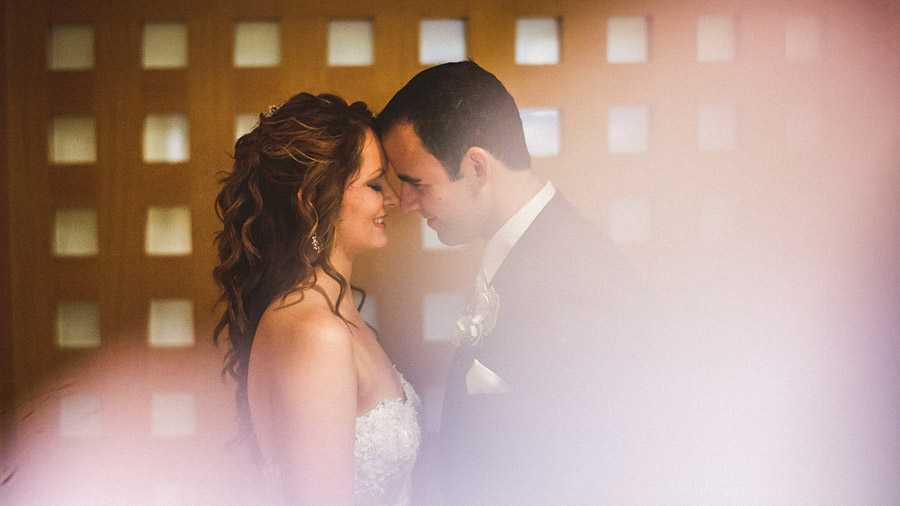
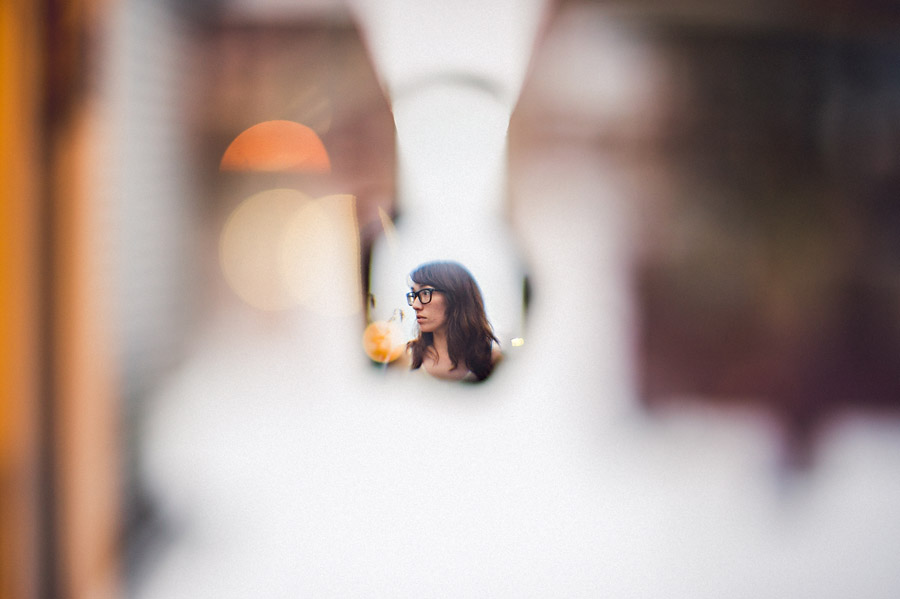
why use this technique? personally, i’m always looking for ways to differentiate my work and i love the unpredictable colors and textures it creates pulling from the actual environment you’re shooting in. it enables you to make images that are nearly impossible to recreate and adds a bit of mystery and excitement. it can be really useful in a boring situation where you just don’t have time to experiment, a situation i’m all too familiar with as a wedding photographer. here’s an example of a standard hotel hallway.
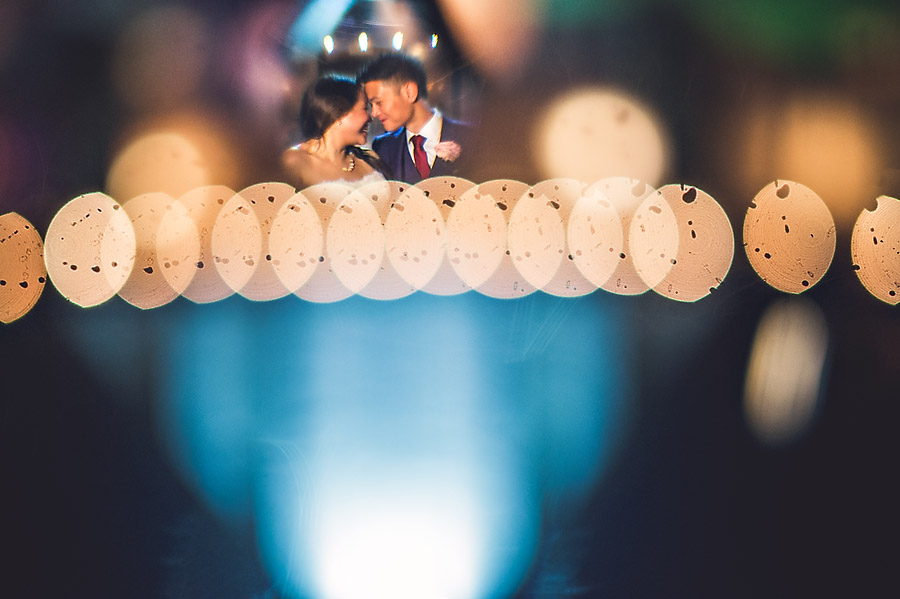
like with any distortion effect it’s easy to go overboard with it, but give it a shot. i’ll be using it a lot in 2014. you can pick one up here.
// by sam hurd

I love how you willingly share your creative secrets and you’re always at least one step ahead of everybody else. You rock, Sam! 🙂
Great techniques Sam, thanks so much I’ll be trying this one too! Very inspiring!
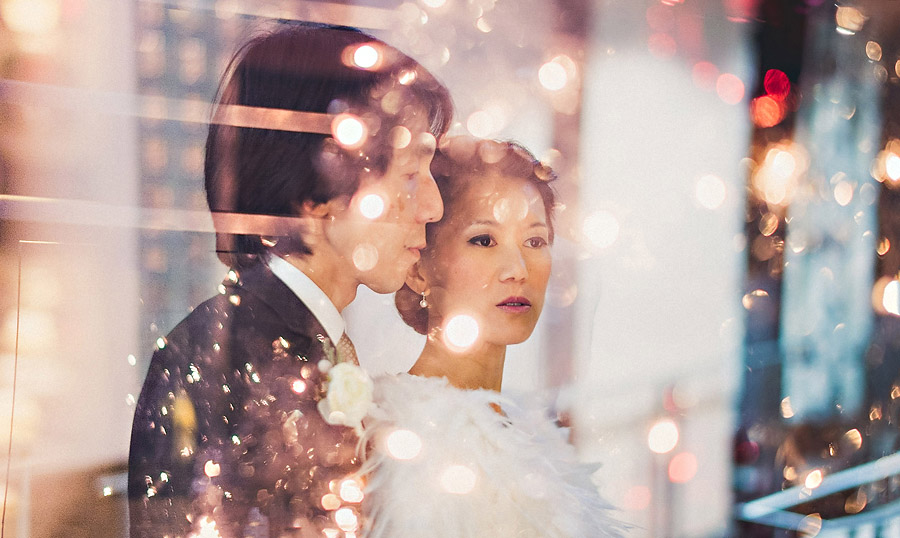
Love that last photo, super futuristic!
You the man Sam, so generous with the techniques you develop. This creates some incredible reflections, I need to try it out.
Awesome man, love the effect!
I’m just going to start looking at every shape of glass you can get to find out what it does! thank you Sam for shaking up what you can do with a camera and not just settling for what comes out of the box – I salute your creativity bro!
Love your creativity Sam. Thanks for sharing!
*bowing down* WE’RE NOT WORTHY!
how cool is this?! where do you get a convex lens element to try something like this?
your work is PHENOMENAL, Sam. Thanks for thinking outside the box and pushing the rest of us to be more creative. 🙂
The mad scientist strikes again. So rad Sam!
Sam you da man! : ) Thanks for being so generous with your knowledge it really is appreciated!
Your always pushing creative boundaries. Thanks for the inspiration. Hopefully you’ll put a short video of the technique like you did with pprisming and freelensing.
[…] Thanks for sharing the information with the crowd Sam. Check out Sam’s original post on Chimping. […]
Thanks for sharing this!
Amazing work! Thanks for sharing and posting some pics of my friends G+D (last photo) even though I didn’t get to attend the wedding myself, I feel like I get to experience some of the magic of the event through these shots 🙂
Some lovely bokeh going on there – great stuff!
Thank you Sam for sharing your knowledge freely with us. You truly are a inspiration. Ignore the trolls that haunt great work and try to pull it down 🙂
These look cool sam – thanks for sharing 🙂
[…] About the author: Sam Hurd is a wedding photographer based out of Washington, DC. He would tell you more about himself, but he thinks his photography should say it all, so if you want to learn more about him, head over to his website, Facebook and/or Twitter. This article originally appeared here. […]
Same concept as free lensing only using multiple elements and eliminating possible light leaks. Been doing it for years now.
freelensing changes the actual plane of focus… this does not do that.
Seriously some beautiful and original photos out of this idea. Thank you for that!
nice + cool!! thanks for share!
Dude, Thank you soo much for the info. Always nice to look at a fresh idea to shoot a wedding or big day
Dave
[…] technique comes from photographer Sam Hurd, who dazzled us with his use of prisms not long ago. This time, he figured out that placing a […]
Such an amazing wedding! Love your creative shots. 🙂
[…] Photo Credits – Sam Hurd […]
Hi Sam,
Awesome technique! I was wondering if you could give some tips on how to hold the convex lens to get said effects. I’m having some trouble with it and was wondering if perhaps I’m doing something wrong.
There is also another solution:
http://petapixel.com/2013/03/26/shoot-hazy-and-ethereal-photos-using-a-sandwich-bag-and-colored-markers/
[…] i have become obsessed with lens chimping thanks to him. check out his post about this technique here. i may have taken apart one of max’s toys so i could use the lens […]
I’ve only just got myself a prism. Guess I could add this to the arsenal. Thanks for sharing Sam, love our community of well natured photographers.
Very creative way of giving images an added interest, thanks for sharing.
So I got my lens the other day and was practicing with it, and I figured out how to get it to work with an off center subject, but would you mind sharing how you place your subject in the center of the image and have awesome-goodness completely surrounding them? You can’t shoot through the lens (unless you’re doing the macro thing) so I’m quite confused… but THANKS for pushing me to be creative and to see things differently, not just with prisms and convex lenses but with light and shadows and everything. I feel like I’m learning to SEE all over again, so thanks 🙂
[…] ^^ Sam Hurd‘s “lens chimping” tecnique was used to achieve the above photo. If you’re a photographer, check out the tutorial [HERE] […]
This is amazing! I just got bought some but I’m having a hard time figuring out how you are able to focus on your subjects through the convex lens. I keep getting blurry images. I’ve shot some with the convex lens covering up the edge of the lens but I can’t seem to get it to focus through it. Any tips??
Hi Sam
I love all the photography, inspired and creative!!! By the way I bought the double convex lenses with ground edges too, but when I attached on 50mm and 85mm lens, the effects will turn it into a macro lens. Can I know what is the lens to attach just can get the effects like the photos you show as below your blog. Appreciate your kindly answer 🙂
Regards,
Simon
[…] portrait and wedding photographer Sam Hurd, shared his prisiming technique, the photography world went into melt down and prisms practically […]
[…] lens chimping photography techniques https://www.samhurdphotography.com/read about some advance photography techniques including lens chimping by a photographer from washington dc area. […]
I love your innovative techniques for differentiating your already stunning work! These are so much better than post production software techniques. Thanks for sharing!
this may seem like a silly question. are you flipping the photos, since convex lenses invert the image, and the couples would be upside down?
Hi Sam, thanks for sharing.
You’ve been a great inspiration to me 🙂
I just wanted to ask, you mention a convex lens, but the link to buy one shows a double convex lens.
Isn’t a double convex lens the same you get in a magnifying glass? I tried one and can’t for the life of me get it to look anything like yours 🙁
Thanks for the share Sam, just ordered one from Amazon Uk!
I read your blog. I like your blog. Thanks a lot.
[…] cellophane or even cling film for different effects. Hurd also has another technique, called “lens chimping“, where he uses a convex lens element held in front of the […]
[…] Use a hand-held glass lens or prism, to create blurred, abstract forms, like this photograph by Sam Hurd: […]
[…] tried out a new technique called Lens Chimping at this show. In short, Lens Chimping is holding a convex lens element in front of your camera […]
[…] Use a hand-held glass lens or prism, to create blurred, abstract forms, like this photograph by Sam Hurd: […]
[…] Use a hand-held glass lens or prism, to create blurred, abstract forms, like this photograph by Sam Hurd: […]
[…] Use a hand-held glass lens or prism, to create blurred, abstract forms, like this photograph by Sam Hurd: […]
[…] Use a hand-held glass lens or prism, to create blurred, abstract forms, like this photograph by Sam Hurd: […]
[…] Use a hand-held glass lens or prism, to create blurred, abstract forms, like this photograph by Sam Hurd: […]